How To Plan Choosing Lighting Layers For A Dining Room
A practical step-by-step guide to how to plan choosing lighting layers for a dining room, including preparation, instructions, common issues, tips, and next steps.
How To Plan Choosing Lighting Layers For A Dining Room
This guide explains how to plan lighting layers for a dining room, focusing on ambient, task, and accent lighting. It covers assessing your space, choosing fixtures, positioning them for effect, and using controls for flexibility. You'll learn to avoid common pitfalls and create a warm, inviting atmosphere that suits both daily meals and special occasions.
Fast Answer
- Start by identifying the main activities in your dining room (dining, reading, homework) and the mood you want for each, then choose three layers: ambient (ceiling), task (pendant over table), and accent (wall sconces or track) to provide flexible light.
- Use a dimmer on the main light and position the pendant so its bottom is about 30 to 36 inches above the tabletop. Add accent fixtures with separate switches to highlight art or architectural details, and always select bulbs with a color temperature between 2700K and 3000K for a warm feel.
Before You Start
- Measure the room's length and width, and note ceiling height, to decide fixture sizes and hanging heights. Use a tape measure and record the numbers.
- Sketch a simple floor plan marking windows, doors, and where the table will go. This helps you plan fixture positions without moving heavy furniture.
- Determine the room's typical uses: everyday meals, work-from-home tasks, or parties. This affects how many layers you need and whether you need extra task lighting.
- Check which existing circuits and switches are available. If you plan to add new wiring, you'll need to know if the walls are open or finished, which affects the cost and effort.
Step-by-Step Instructions
Assess Your Dining Room's Dimensions and Ceiling Height
Start by measuring the room's length and width with a tape measure. Write these numbers down, along with the ceiling height. Most dining rooms have 8- to 9-foot ceilings, but note the exact figure because it dictates how low a pendant can hang. For an 8-foot ceiling, the bottom of the pendant should be about 30 to 36 inches above the tabletop. If your ceiling is higher, you may need to adjust the cord length or hanging chain. Also measure the table's dimensions, because the light should be centered over it. To take the measurement, stand on a sturdy step stool and measure from the floor to the ceiling, then subtract the table height (usually 28-30 inches) to get the ideal hanging height. This check matters because a pendant that hangs too high or too low can create glare or shadows, making conversation and dining uncomfortable. It also helps you choose the right size of fixture: as a rule, the width of a round or square fixture should be about half to two-thirds the width of the table.
Choose a Main Ambient Light Source
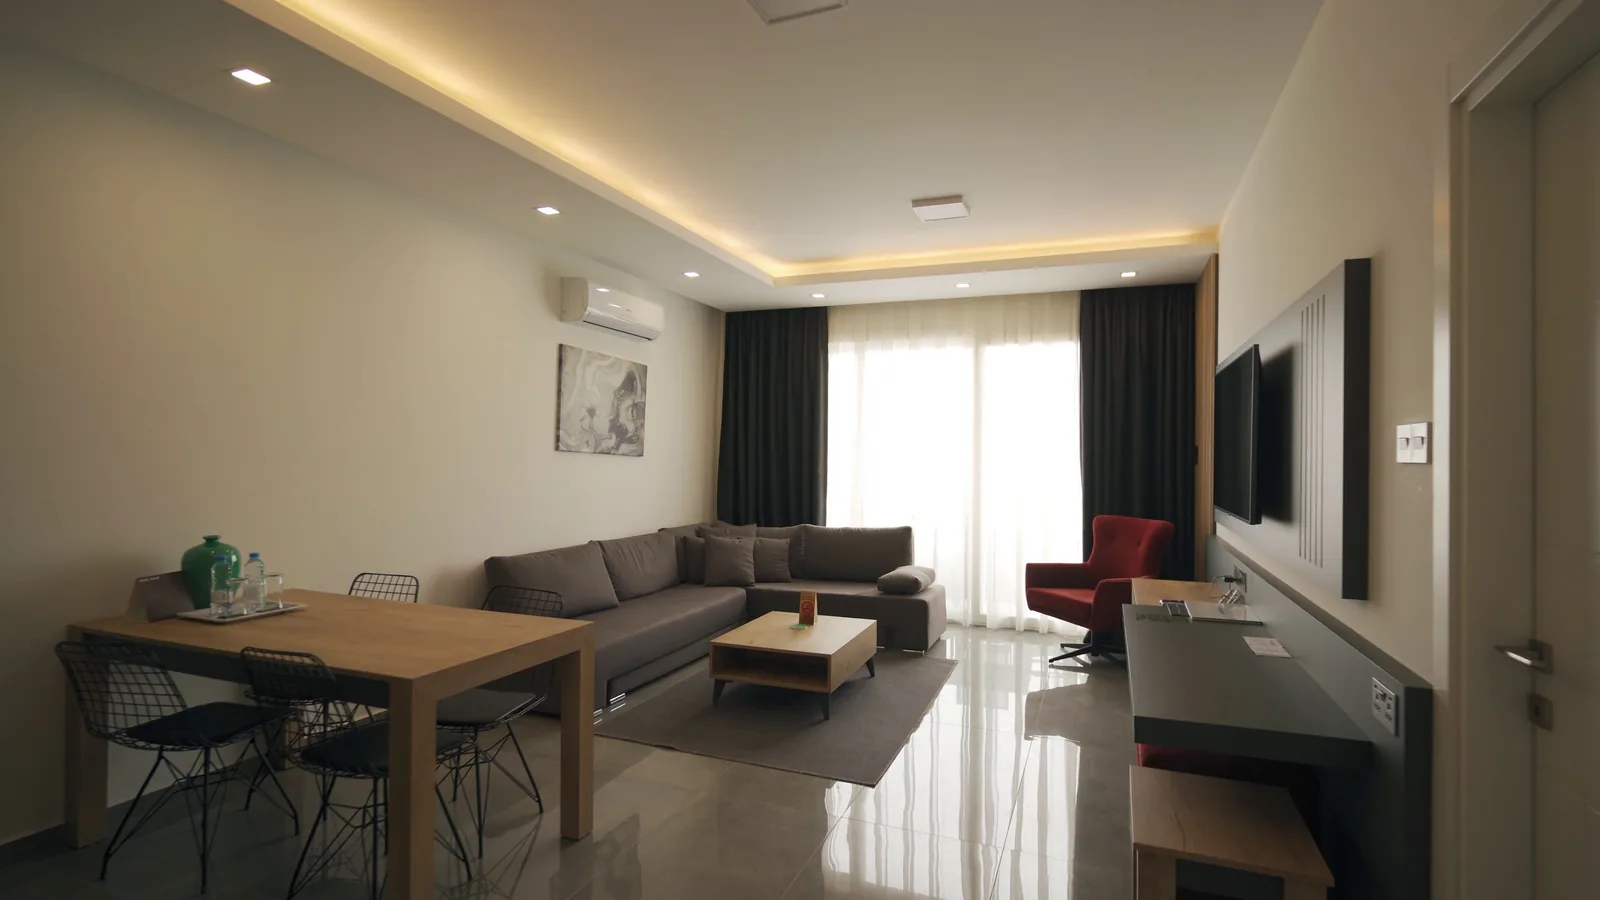
The ambient layer provides general illumination so you can walk safely and see the room's overall layout. Start with a ceiling-mounted fixture like a flush-mount, semi-flush, or a small chandelier if your room is large. Choose a fixture that supports dimmable LED bulbs with a color temperature of 2700K to 3000K for a warm, inviting glow. If you have a tray ceiling, consider adding cove lighting to wash the upper walls with light. To install, you'll likely reuse the existing ceiling box; if you need to move it, that's a project for an electrician. For a typical 12x14-foot dining room, you need about 2,000 to 4,000 total lumens from all layers, but the ambient source can provide about half. To check your selection, stand in the room at dusk and turn on just the ambient light: you should see no dark corners, and shadows should be soft. Avoid a single bare bulb or a fixture that creates harsh glare. This check matters because ambient light alone can make the room feel flat or cavernous, but selecting the right size and brightness ensures a comfortable baseline for all activities.
Position a Task Pendant Over the Dining Table
The task layer focuses light on the table surface for dining and board games. Hang a pendant or chandelier directly over the center of your table. Use a plumb line or a laser level to mark the exact center. The bottom of the fixture should be 30 to 36 inches above the tabletop if your ceiling is 8 feet. For every additional foot of ceiling height, raise the fixture by about 3 inches. If you have a rectangular table, place the fixture along the long axis, centered. If you have a round table, center it exactly. To do this, measure the table's length and width, then find the midpoint. Use a pencil to mark the ceiling, but you'll need an anchor or support if the fixture is heavy. When you install, ensure the cord or chain is long enough to adjust. After wiring, turn the power back on and dim the light to a comfortable level. Avoid having the pendant block the view across the table—your guests should see each other, not the light source. This check matters because proper positioning prevents glare and shadows across faces, making conversation easy.
Add Accent Lighting for Walls and Artwork
Accent lighting adds depth and highlights the room's features, such as a painting, a sideboard, or textured wallpaper. Use track lighting, wall sconces, or picture lights. Install sconces about 60 to 66 inches above the floor, and place them at eye level when seated, if they are near the table. For artwork, use a picture light that is about one-third the width of the frame. If you have a buffet or cabinet, place a small directional spotlight above it to highlight décor. Position accent lights so they are not directly in the line of sight of diners, to prevent glare. Install them on a separate switch or a dimmer so you can control them independently. For track heads, point them at the wall or object, with the beam angle covering the piece. Use LED bulbs with a color temperature around 2700K to 3000K, and aim for about 150 to 300 lumens per fixture. To check, turn on the accent lights alone and look for a subtle wash of light; the object should be clearly visible but not washed out. This check matters because accent lighting increases visual interest and can make the room feel more intimate.
Install Dimmers and Separate Switches for Each Layer
To achieve flexibility, install a dimmer for your ambient light and a separate switch for accent lighting. If possible, put the task light (pendant) on its own dimmer as well. This allows you to create different moods: bright for cooking, medium for dining, and low for conversation. To do this, you'll need three-gang switch box or wireless dimmers. If you're not comfortable with wiring, hire an electrician to add the switches. When choosing dimmers, make sure they are compatible with the LED bulbs you plan to use—look for 'LED dimmer' or 'ELV' types. After installation, test each switch and dimmer to see that the light levels respond smoothly without flickering. Set a 'dinner' scene: ambient at 70%, task at 50%, accent at 30%. Use the dimmers to create a warm, inviting level. This check matters because proper controls let you adapt the room to any occasion, and incompatible dimmers can cause buzzing or shortened bulb life.
Evaluate the Lighting Layers Together and Adjust
Once all layers are installed, turn them all on and observe the room from various angles, including from the dining table, in chairs, and from the entrance. Look for harsh shadows, dark spots, or overall dimness. Use a light meter app on your phone as a rough guide: aim for a combined 300 to 500 lux on the tabletop. If the room feels too bright, lower the dimmers. If it feels dark, increase the wattage of accent bulbs or add another table lamp. Also, check for glare from the luminous surfaces—you should not see the bulb directly when seated. If you do, adjust the fixture's height or add a shade. Finally, sit at each chair and make sure the light doesn't cast a shadow across your food or face. This entire process is calibration; you may need to do it over a few days and different times of light. This check matters because a balanced mix of layers creates a cohesive lighting plan that enhances the room's function and beauty.
Quick Reference
| Situation | Action | Why it helps |
|---|---|---|
| Dining table is 6 feet long and the ceiling is 8 feet high. | Hang a pendant light 30 inches above the tabletop, centered over the table. Use a fixture that is 24 to 30 inches wide. | This height prevents bumping heads and provides even light across the table. The width ensures the fixture is proportional to the table and doesn't dominate the room. |
| You want to read or work at the dining table in the evening. | Add a dimmable LED task lamp on the table, and raise the ambient light to 80%. Position the lamp away from your face to avoid glare. | A task lamp provides focused light for activities, and dimmed ambient light reduces eye strain without making the room feel harsh. |
| You have a large painting on the dining room wall that looks dull at night. | Install a picture light above the frame or a track head aimed at the painting, and put it on a separate switch. | Accent light draws the eye to the artwork, creating visual interest and making the room feel more curated. A separate switch lets you control that effect independently. |
Common Issues
- The pendant light casts shadows on the table when you sit down.: Raise the fixture so it's at least 30 inches above the table. If shadows persist, change to a shade that directs light downward, like a cone or bell shape, and ensure the bulb is not exposed.
- The room feels dark even with all lights on.: Increase the total lumens by adding a lamp or using higher-wattage LED bulbs (100-watt equivalent, but check fixture rating). Also, use lighter lampshades and consider adding a uplight for ambient bounce. Ensure all bulbs are clean and not dimmed too low.
- Dimmer switches cause the lights to flicker or buzz.: Replace the dimmer with one that is specifically designed for LED bulbs, and verify that the bulbs are dimmable. If buzzing continues, consult an electrician, as it might be a wiring issue.
Advanced Tips
- Layer with three dedicated lighting circuits so you can adjust each light level independently without walking to a different switch.
- Use a lighting designer's trick: add a small lamp in a dark corner that lights up as evening falls, creating a warm transition from day to night.
- Choose bulbs with a color rendering index (CRI) of 90 or higher to make food, faces, and décor appear vivid and true to life.
Final Checklist
- Measure the room and table, and note ceiling height before buying fixtures.
- To confirm, with a tape measure, the pendant hangs 30 to 36 inches above the tabletop for an 8-foot ceiling.
- Install dimmers for ambient and task lights, and separate switches for accent lighting.
- Set a dinner scene: ambient 70%, task 50%, accent 30%, then adjust for comfort and adjust again after a few days.
FAQ
How many layers of lighting do I really need in a dining room?
At least three: ambient for overall light, task for the table, and accent for highlights. Without them, the room feels flat and may be impractical for work or intimate meals. Start with ambient and task, then add accent later if you wish.
What is the best bulb color temperature for a dining room?
Pick warm white with a color temperature of 2700K to 3000K. This emits a cozy, inviting glow that flatters skin tones and makes food look appealing. Avoid daylight bulbs (5000K), which can feel sterile and harsh in a dining setting.
Can I use smart bulbs and dimmers together?
Yes, but you must check compatibility. Some smart bulbs shouldn't be used with traditional dimmers, as they can flicker. Use smart dimmers or smart bulbs with their own app controls, and always read the product specs. Test the combination before finalizing.