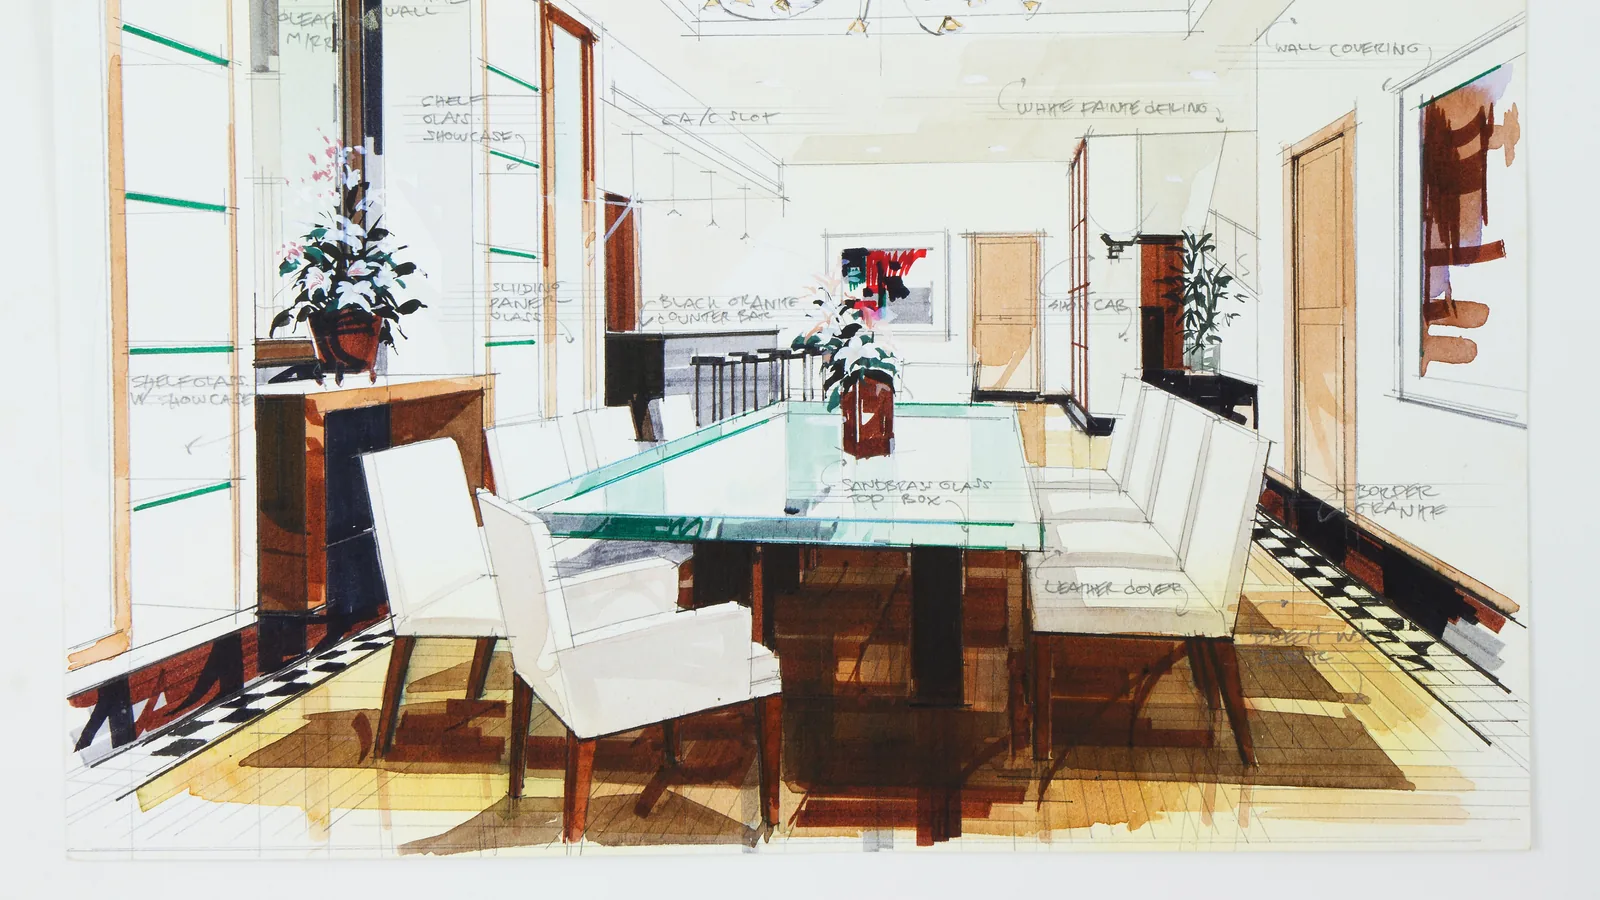
What To Check Before A Practical Kitchen Refresh Without Moving Plumbing
A practical step-by-step guide to what to check before a practical kitchen refresh without moving plumbing, including preparation, instructions, common issues, tips, and next steps.

What To Check Before A Practical Kitchen Refresh Without Moving Plumbing
Refreshing your kitchen without moving plumbing saves money and avoids major disruptions, but it demands careful planning. This guide walks you through essential checks before you begin, covering layout, surfaces, lighting, storage, and safety. You'll learn how to assess your existing layout, choose materials that fit your current footprint, plan for electrical and ventilation needs, and prepare for common pitfalls. The goal is to help you achieve a fresh look while keeping plumbing and gas lines exactly where they are, ensuring a smooth, efficient renovation.
Fast Answer
- Measure your kitchen's footprint and note the positions of all plumbing, gas, and electrical connections to confirm your refresh stays within the existing layout.
- Inspect the condition of cabinets, countertops, and flooring to identify what can be refinished or reused, and what must be replaced to match the new design.
Before You Start
- Take detailed measurements of floor-to-ceiling heights, wall lengths, and window and door openings to ensure any new cabinets or appliances will fit without moving plumbing.
- Photograph the existing plumbing, gas lines, and electrical outlets, labeling each pipe and wire's location, so you know exactly what must remain untouched.
- Create a list of must-have improvements such as better lighting, more storage, or easier cleaning, and rank them by importance to guide your design choices.
- Decide on a budget range for materials and labor, excluding any plumbing relocation, and allocate extra funds for unexpected issues like water damage or outdated wiring.
Step-by-Step Instructions
Assess Your Existing Layout
Start by sketching a simple floor plan of your kitchen, marking the exact locations of the sink, stove, refrigerator, dishwasher, and any other permanent fixtures. Use a tape measure to record distances between these points, including where water supply lines, drain pipes, and gas shutoff valves appear. Note the direction of floor joists and wall studs, because you'll need to know where you can safely add support for new cabinets or shelving. Check if the existing plumbing is in good condition by looking under the sink for signs of corrosion, slow drains, or discolored water. Also assess whether your current fixtures are functional or if they need replacement. This baseline map is your blueprint for every later decision. It tells you what space you have to work with, what you can move without touching pipes, and where you can place new appliances or islands. Without an accurate inventory, you risk designing a beautiful kitchen that overlooks a hidden pipe or cramping a doorway. Take your time here; measurements are the foundation of a successful refresh.
Inspect Cabinetry and Counters
Examine every cabinet door, drawer, and shelf for signs of water damage, warping, or structural weakness. Open and close each unit to see if hinges align and drawers slide smoothly. Look at the countertops for stains, chips, cracks, or delamination. Decide whether you'll refinish, repaint, or replace these surfaces. For wooden cabinets, you can sand and repaint or restain, but only if the underlying wood is sound. Particleboard that has swelled from moisture cannot be reliably refinished and must be replaced. For counters, materials like laminate can be resurfaced, but stone or solid surface may require professional repair. Measure the depth and height of your existing cabinets to confirm that new fronts or doors will fit the same frames. If you choose to replace only the doors and drawer fronts, order them to match the existing box dimensions. Also check underneath the sink cabinet for leaks or mold, and verify that the cabinet floor is stable enough to support new fixtures. This inspection tells you what you can preserve, what you must replace, and what hidden issues might need attention before you proceed.
Evaluate Lighting and Electrical
Take stock of your current lighting: note where ceiling fixtures, under-cabinet lights, and outlets are located. Determine if the existing circuits have enough capacity for additional lighting or appliances. A typical kitchen has two or more dedicated 20-amp circuits for countertop appliances, but older homes may have fewer. Check the breaker box to see how many circuits serve the kitchen and whether they are labeled. Consider how you can improve task lighting, such as adding under-cabinet LED strips, without rewiring. Plug-in lights that mount under cabinets can be a simple solution, but ensure the outlets are accessible. For recessed or pendant lights, confirm there is access to the attic or crawlspace for wiring, or plan to use surface-mounted fixtures. Also think about natural light: can you add a skylight or enlarge a window without moving plumbing? Usually, windows are set in exterior walls, so adding one is a separate construction project. The goal is to plan your lighting layout so that it enhances the kitchen's function and mood, while staying within the existing electrical framework. If you need new outlets, you can often tap into adjacent circuits, but always consult a licensed electrician to ensure safety and code compliance.
Plan Ventilation and Appliances
Check your current ventilation system: whether you have a range hood, an over-the-range microwave with a fan, or just a window. If you cook often, good ventilation removes smoke, steam, and odors. If your stove is on an interior wall, ducting to the outside may be complex; in that case, consider a ductless hood that recirculates air through charcoal filters, though it's less effective. For the refrigerator, measure the space it occupies and ensure the new model will fit exactly in the same gap, leaving at least an inch on sides and back for airflow. For the dishwasher, verify that the supply line and drain hose can connect to the existing points without extension. Also check that the electrical outlet for the dishwasher is within reach. For the range or cooktop, confirm the gas line or 240-volt outlet is positioned correctly. Plan appliance placement so that you don't need to move any plumbing or gas lines. If you want a pot filler or a water dispenser, those require new lines, so you'll need to adjust your expectations or hire a plumber. This step ensures that your new appliances will be functionally compatible with the existing infrastructure.
Choose Materials and Finishes
Select materials that will stand up to the specific conditions of your kitchen while matching your design vision. For countertops, consider durability, stain resistance, and how they react to heat and water. Laminate is inexpensive and easy to clean, but can scorch; solid surface is forgiving but can scratch; quartz is tough but heavy; tile is classic but can be hard to keep grout clean. For backsplashes, pick a material that complements the counters and is water-resistant; glass, ceramic, or stainless steel are popular choices. For flooring, check the subfloor for levelness and moisture resistance. If you have radiant heat, some materials transfer heat better than others. Wood can warp if not sealed properly; tile is durable but hard on the feet; vinyl is waterproof and soft. For cabinet refacing, choose a wood or laminate that will withstand humidity. Also consider the color palette and how it affects perceived space—lighter shades make a small kitchen feel larger. Think about maintenance: high-gloss finishes show fingerprints, while matte hides them but may be harder to clean. The key is to balance aesthetics with practicality, and to ensure that any new material is compatible with the existing structure.
Prepare for Disruptions and Safety
Before any work begins, map out a temporary kitchen zone. You'll need space for a microwave, toaster, coffee maker, and maybe a mini-fridge. Set up a table with bins for essential utensils and plates. Cover adjacent rooms with drop cloths to protect against dust. Plan to disconnect and move appliances on the first day, but remember to shut off the water and gas supply to the kitchen if you're moving major components. Even if you're not touching plumbing, you'll need to slide the refrigerator and stove out to replace floors or paint behind them. Make a checklist that includes turning off breakers, taping off vents, and storing small items. If you're hiring contractors, confirm they have liability insurance and ask for references. Also, establish a schedule to minimize downtime; aim to work in phases, such as one countertop or cabinet run at a time. Keep important documents like paint colors and measurements in a folder. And don't forget to plan for meals: either eat out or use the temporary setup. This preparation reduces stress and helps you cope with the chaos.
Quick Reference
| Situation | Action | Why it helps |
|---|---|---|
| You want to add a new sink or dishwasher without moving plumbing. | Compare the new fixture's supply line and drain hose lengths to the existing shutoff valve and drain stub-out distances; if they're within reach, you can connect directly, otherwise you must extend lines or choose a different location. | Most supply lines are short and flexible, but drain lines need a proper slope and vent; extending them beyond a few feet without a plumber may cause clogs or siphoning issues. |
| You need more counter space but cannot expand the footprint. | Add a butcher-block cart on locking casters, a drop-leaf counter that folds down, or a pull-out cutting board mounted under an existing countertop. | These options give you extra prep area when needed, then tuck away to keep the aisle width clear, avoiding the need to relocate plumbing or widen doorways. |
| You want to change the refrigerator location without moving the water line for the ice maker. | Select a new fridge that has the water inlet on the same side as the existing supply line, and plan to use a shorter, braided-steel connector to reach the valve, or install a tapping valve if the line is within reach. | Most fridges require a 1/4-inch water line; if the connection point moves, you'd need to reroute tubing, which is a modification to plumbing that you want to avoid. |
Common Issues
- Old pipes surface during countertop removal: Stop work immediately and assess the pipe material and condition. If it's galvanized steel or polybutylene, consider hiring a plumber to patch or replace it, as these materials are prone to corrosion or failure. For copper, you can often clean and inspect it yourself, but if there are leaks, call a professional.
- New cabinet doors hit water shutoff valves: Measure the clearance from the valve to the cabinet frame and choose slimmer shutoff valves, or install a quarter-turn valve that is more compact. You may also need to cut a small access panel so the valve remains reachable without removing the door.
- Flooring is uneven under cabinets: Use self-leveling compound to fill low spots, or shim the cabinets with plastic shims and trim. For lightweight cabinets, you can also use construction adhesive to fix them down, but ensure the floor is clean and dry.
Advanced Tips
- Install a smart water leak sensor near your dishwasher and under the sink to get early warnings before a slow leak becomes a flood.
- When repainting cabinets, use a high-quality alkyd or oil-based paint that dries hard and resists moisture, and apply a primer first to seal the wood.
- Add a pull-out pantry system inside an existing tall cabinet to maximize storage without altering your plumbing layout.
Final Checklist
- Confirm all measurements and mark the exact spots for new appliances and fixtures to avoid moving pipes.
- Shut off the water supply and gas valves before any demolition or appliance movement.
- Protect floors and walls with drop cloths and tape, and cover vents to prevent dust spread.
- Arrange for a temporary kitchen setup with a microwave, toaster, and mini-fridge to keep meals simple.
FAQ
Can I change the sink to a larger size without moving plumbing?
Yes, if the new sink fits the existing cabinet base and the drain line and supply lines can connect. You'll need to measure the cabinet's interior width and depth. A deeper sink may require a shallower installation, so check the under-sink clearance for the garbage disposal. Also, the drain tailpiece and trap must align, so you may need to adjust the p-trap, which is a simple DIY task. If the sink is wider than the cabinet, you'd need to alter the countertop and possibly the cabinet, which could affect plumbing access.
Do I need to replace my cabinetry to get a new look?
Not necessarily. You can reface cabinets by replacing just the doors and drawer fronts, and re-laminating the visible side panels. This is often much cheaper and faster than a full replacement. Alternatively, a fresh coat of paint and new hardware can transform the appearance. But if your cabinet boxes are damaged or inefficiently designed, a full replacement might be better. Check the condition of the frames, hinges, and drawer glides; if they're solid, refacing is a viable option.
How do I add under-cabinet lighting safely?
The easiest method is to choose battery-operated or plug-in LED tape lights. Look for fixtures that come with a low-voltage adapter and a plug, then mount them to the bottom of the cabinets near the front edge. Plug them into a countertop outlet, and use a remote or switch. If you want hardwired lights, you'll need to run a new circuit or tap into an existing one, which requires a permit and inspection. Always turn off the power at the breaker before installing, and if you're unsure, hire an electrician.